How To Access Windows Apps Folder In Windows 10
It’s your system, if you develop a desire to know what’s hidden from you by your system, I wouldn’t blame you. Have you ever wondered where every installation file is kept by windows? Well, what if I say that am going to tell you the big secret and give you access to everything? Wouldn’t you be willing to take up the offer? Yes of course, right? It’s the WindowsApps folder that we should be looking out for. Read on, to learn how to access WindowsApps folder by following a very few number of steps.
STEP 1
Firstly, open My Computer and double click on C drive.

STEP 2
Now find out the folder named Program Files and double click on it. This is the folder which houses WindowsApps folder.

STEP 3
Now if you look at the name of the folders starting with the letter “W”, you will not find WindowsApps there. This is because it is a hidden folder. Let’s discover it first.

STEP 4
Click on the View tab. Now look for a cell named Hidden items. Check the cell corresponding to it to view the hidden folders and files

STEP 5
You will now see that WindowsApps folder has been revealed, congratulations on that part. But if you execute a double on the WindowsApps folder, you will be faced with a Permission Denied message. Let’s get to solving this issue.

STEP 6
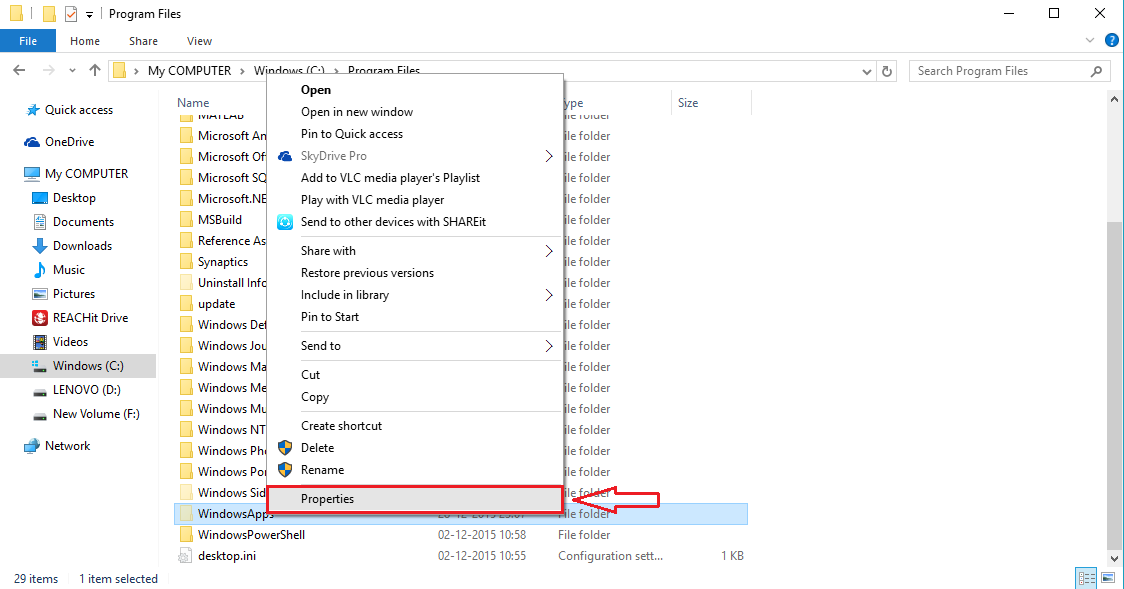
Right click on WindowsApps folder and from the context menu that opens up, choose Properties by clicking on it.
STEP 7
This results in the opening up of a new window named WindowsApps Properties. Down at the bottom, you will see a button named Advanced. Click on it, to change the folder permissions.

STEP 8
Find the link named Change and click on it to change the owner of the folder.

STEP 9
Now you will see that the owner is listed as TrustedInstaller. Click on Change once again.

STEP 10
A new window named Select User or Group opens up. Type-in the user account name which you want to give the ownership of the WindowsApps folder, under the text filed named Enter the object name to select. Once you are done, click on Check Names.

STEP 11
Clicking on Check Names button will change the entered user name into the object name of the user account as shown in the below screenshot. Click on OK button once you are done.

STEP 12
Do not forget to check the cell corresponding to Replace owner on subcontainers and folders before clicking on the OK button of Advanced Security Settings for WindowsApps window.

STEP 13
Sit back and relax. Windows will do the job of changing the ownership of the folder and it’s contents.

STEP 14
Once the ownership is changed and if you open the WindowsApps folder from the Program Files again, you will be able to view the contents in it.

Well, you are done. Doesn’t it feel great to have found out the big secret? Feel free to come back, there is always more waiting. Hope you found the article useful.


Comments
Post a Comment