Change Text “-Shortcut ” From Shortcuts Created In Windows 10

Windows has the default behavior of appending the text – Shortcut to the name of every shortcut that you create. But you don’t have to live with the default behaviors of Windows, of course. You can definitely customize the text that has to be added to the name of the shortcuts you create. You can even opt not to add any text to the shortcut names as well. Read on, to learn how to customize the text, that gets added to the shortcut names you create, using the regedit program with a very few number of simple steps.
STEP 1
First let’s have a look at the default shortcut naming scheme of the Windows operating system. For that, right click on the file that you want to create a shortcut of, and then click on Create shortcut from the context menu.

STEP 2
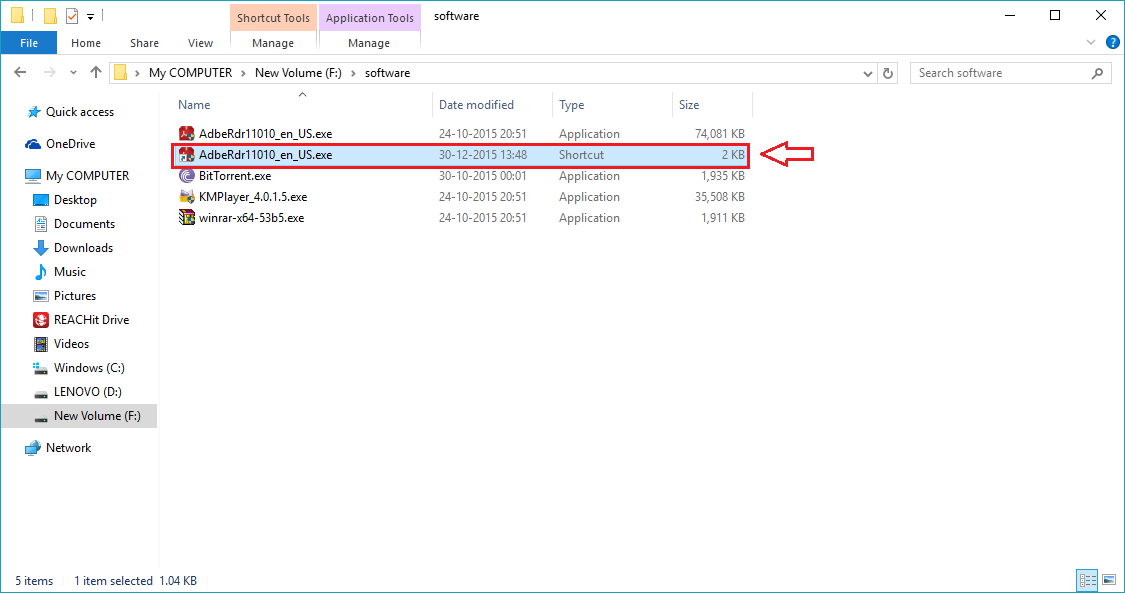
Now, if you will have a look at the name of the shortcut that’s just created, you will see that the word Shortcut is added to the shortcut name. It is this suffix, that can be customized as per your choices. Follow the steps below to achieve the same.

STEP 3
Firstly, type-in regedit into your Cortana search box and click on the search result as shown in the screenshot below.

STEP 4
A new window named Registry Editor opens up. You need to navigate to the following path.
HKEY_CURRENT_USER\SOFTWARE\Microsoft\Windows\CurrentVersion\Explorer\NamingTemplates
If you cannot find the NamingTemplates subkey, you can just create it as explained in the following step.
Right click on Explorer first. Then click on New and finally on Key. Label the newly created subkey as NamingTemplates. If you have any doubts, refer to the screenshot shown below.

STEP 5
As next, right click on NamingTemplates subkey, then on New and then on String Value.

STEP 6
Now in the right window pane, you will see the newly created subkey. Rename it as ShortcutNameTemplate.

STEP 7
Double click on ShortcutNameTemplate, to open the Edit String window. In the text field named Value data, copy and paste %s.lnk. %s denotes the name of the file, to which the shortcut is being created. Once you are done, click on OK button.

STEP 8
Now, create a shortcut for a file just like before. If you notice the name of the shortcut, you can see that the suffix Shortcut has disappeared.
STEP 9
If you want to add a prefix to the name of your shortcut by default, copy-paste shortcut to %s.lnk in the Value data filed of the Edit string window. You can change the text shortcut to to any text of your choice.

STEP 10
To see the effect, create a shortcut as usual. If you notice the name of the shortcut, you can see that the prefix has been successfully added.

STEP 11
Now what if you want to add your custom-made suffix to your shortcut rather than the windows default? Then copy-paste %s shortcut ready.lnk in the Value data filed of the Edit string window. You can change the text shortcut ready to any text of your choice.

STEP 12
To see the effect, create a shortcut and notice the name and see that the suffix has been added successfully.

STEP 13
Reverting back to your windows default shortcut naming scheme is very easy. Simply right click on the NamingTemplates subkey and click on the Delete option.

That’s all. Now we can have our own custom made suffix or prefix to our shortcut names just like that. Try these out today itself. Hope you have fun.


Comments
Post a Comment