How to Make Windows Photo Viewer Your Default Image Viewer on Windows 10
Windows 10 uses the new Photos app as your default image viewer, but it still includes Windows Photo Viewer — kind of. Microsoft has hidden Windows Photo Viewer on new Windows 10 systems.
Upgrade a Windows 7 or 8.1 computer to Windows 10 and it’ll have Windows Photo Viewer available as an option. On a fresh Windows 10 install, Windows Photo Viewer isn’t even presented as an option.
The Problem
For whatever reason, Microsoft opted not to include the registry keys that enable access to Windows Photo Viewer on Windows 10. They’re kept if you upgrade from a previous version of Windows, but aren’t available on the current version. Microsoft wants you to open all those image files in the new Photos app, not the old Windows Photo Viewer desktop app.
Just navigating to the Default apps pane in Settings and clicking Photo viewer won’t work — you won’t see it as an option. The old Default apps Control Panel won’t help much, either. Navigate to it and you can only make Windows Photo Viewer the default association for .tif and .tiff files, not other types of images.
You can’t just point images at a specific .exe file to associate them with Windows Photo Viewer, either. Windows Photo Viewer is actually part of a PhotoViewer.dll file that Windows normally launches with rundll.

Add the Registry Entries
We’ll need to add the same registry entries that were present on Windows 7 and 8.1, and are still present on systems that upgraded from those old versions of Windows. To do this, download the Activate Windows Photo Viewer on Windows 10 registry hack. Unzip it, double-click the .reg file, and it will be added to your system.
This is only necessary if you’re using a fresh Windows 10 system. If you upgraded from Windows 7 or 8.1, you should be able to set Windows Photo Viewer as your default image-viewing application in all the usual ways.

Set Windows Photo Viewer as Your Default Image Viewer
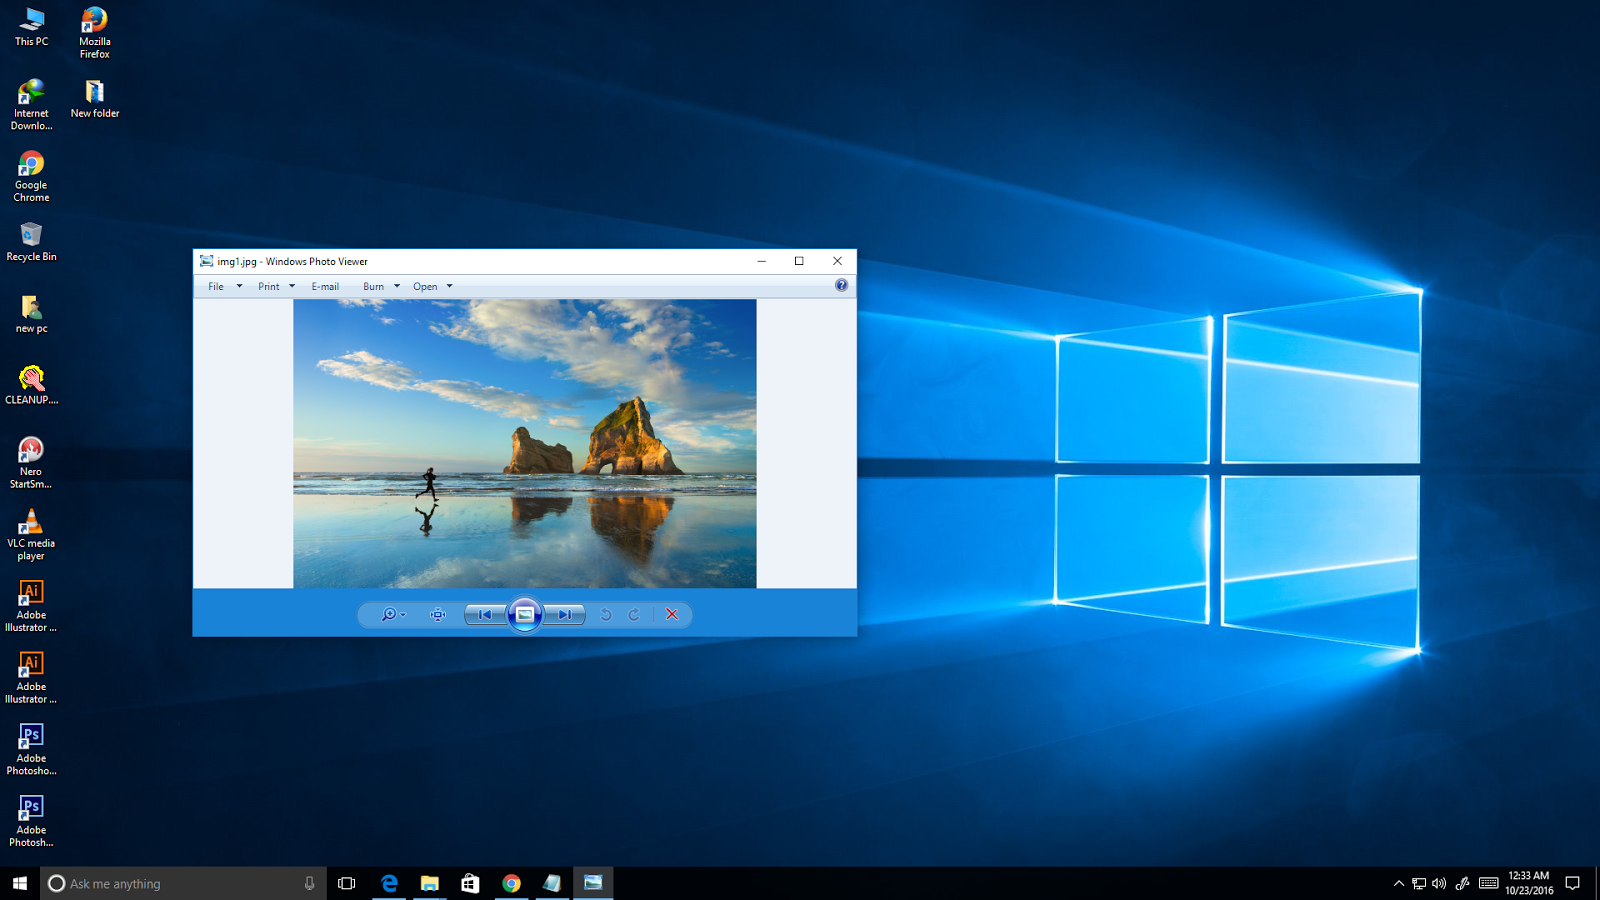
You can now right-click a type of image file — for example, a .png, .jpg, .gif, or .bmp file — point to Open with, and select Choose another app.

Click the More apps option, select Windows Photo Viewer in the list, activate the Always use this app to open files checkbox, and click OK.
Windows Photo Viewer will now be the default image viewer for that type of image file. You’ll need to repeat this process for each type of image file you want to open with it. In other words, whenever you open an image that opens in the Photos app, just close the Photos app and use the “Open with” menu to associate that file type with Windows Photo Viewer. You should only have to do this a few times.
Note that Windows Photo Viewer won’t appear under the list of programs in the “Open with” dialog unless you run the above .reg file.

You could always use another desktop image viewer, of course. This will be necessary if Microsoft ever completely removes Windows Photo Viewer from Windows 10.
The speedy and longstanding IrfanView is still a popular option, and it’s far from the only one. Just install your image viewer of choice and associate it with all the other types of images it supports from the Control Panel.


Comments
Post a Comment